Heard about macOS Big Sur and want to update to this version? Don’t know how to do it?
No problem – we’ll show you what you need to do in this step-by-step guide. We’ll also answer some FAQs about Big Sur.
Table of Contents
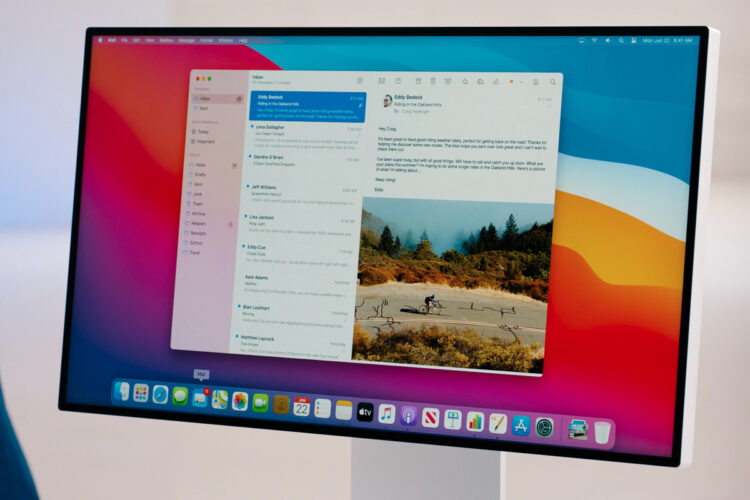
How to Upgrade to macOS Big Sur
Source: wired.com
To make sure your upgrade goes as smoothly as possible, you should follow these four steps:
1. Check the Compatibility
Before you do anything, you need to make sure Big Sur will actually work on your device. Here’s a list of compatible platforms:
- MacBook (from 2015 onwards)
- MacBook Air (from 2013 onwards)
- MacBook Pro (from 2013 onwards)
- iMac Pro
- iMac (from 2014 onwards)
- Mac Pro (from 2013 onwards)
Those are just the devices Apple highlights on their support page. To check the full list of supported platforms, you should follow this link.
2. Back Up Your Data
It’s always a good idea to back up your data before running a system upgrade. On macOS, we recommend using Time Machine since it’s extremely simple. To see how to do that, follow Apple’s guide.
If you’d like to use other backup methods, go ahead. Apple probably supports them.
3. Check Your Internet

Source: freepik.com
The Big Sur update isn’t exactly small. We have seen people claiming that it’s 3.66 GB, but that’s not exactly accurate. On average, the initial update weighs around 12 to 16 GB. But there are some things to keep in mind:
- If you’re updating from macOS Sierra or later, you’ll need 35.5 GB.
- If you’re upgrading from earlier releases, you’ll need 44.5 GB.
So, it might take a while to fully download this app. Make sure you have a reliable Internet connection. You shouldn’t download Big Sur if you’re currently using hotel or airport WiFi. It’s best to do this when you’re at home. Ideally, you should hook up your Mac directly to your router with an ethernet cable to get faster download speeds.
4. Download & Install the Update
All that’s left is to get Big Sur and install it. Here’s how to do that:
- Click the Apple menu.
- Click About this mac.
- Open the Overview
- Click Software To learn more about Big Sur, click More Info.
- To start the installation, click Update Now.
And that’s it! Now you just wait for the update to finish downloading. When it does, the installer will open automatically. Just follow the on-screen instructions, and you’ll have Big Sur installed without any issues. Again, since the update is pretty big, the installation process might take a while. We recommend doing this before going to bed, so that the Big Sur installation can run overnight.
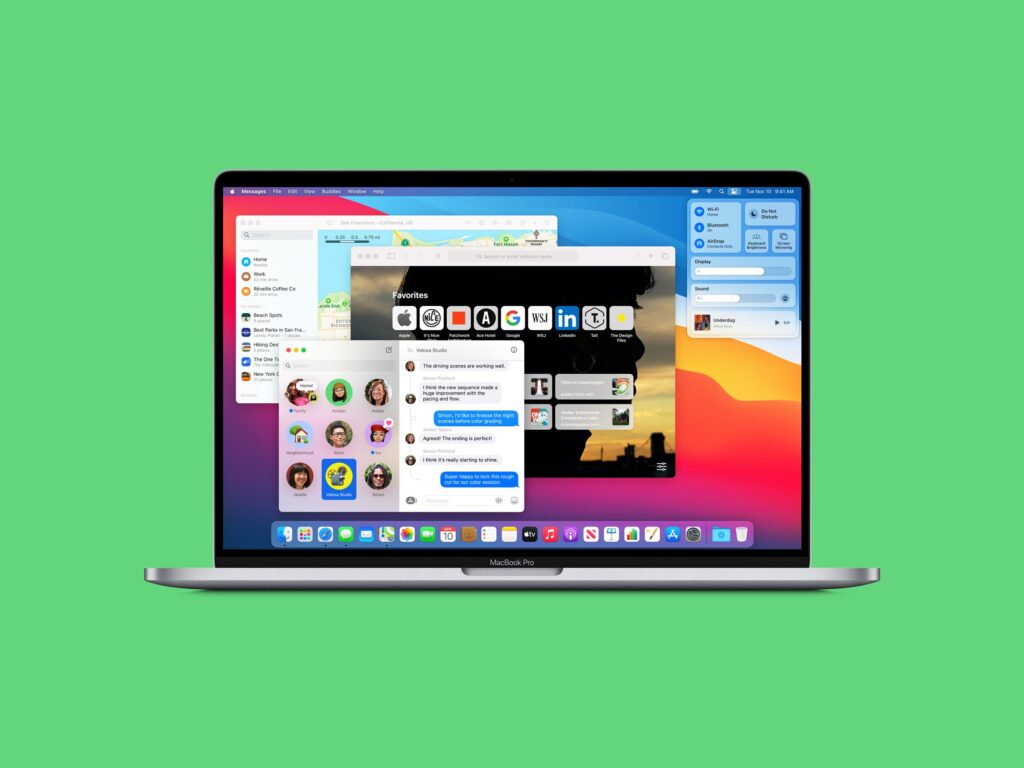
What’s New in macOS Big Sur?
Source: 9to5mac.com
The new version comes with a lot of quality of life improvements. For example, Big Sur improves the user experience by:
- Redesigning the app icons, making them feel familiar and modern.
- Updating the menu bar by making everything easier to read and interact with.
- Lightening the appearance of windows to make it easier to work with them.
- Redesigning sheets in apps to help you better focus on the content.
- Redesigning widgets to make them more pleasant to look at. Apple redesigned the Stocks, Weather, Calendar, Reminders, Podcasts, and Notes widgets.
- Giving you access to new third-party widgets on the app store.
- Improving Safari’s performance, effectively making it even faster than before.
- Redesigning the Safari tab bar so that you can view more tabs at once.
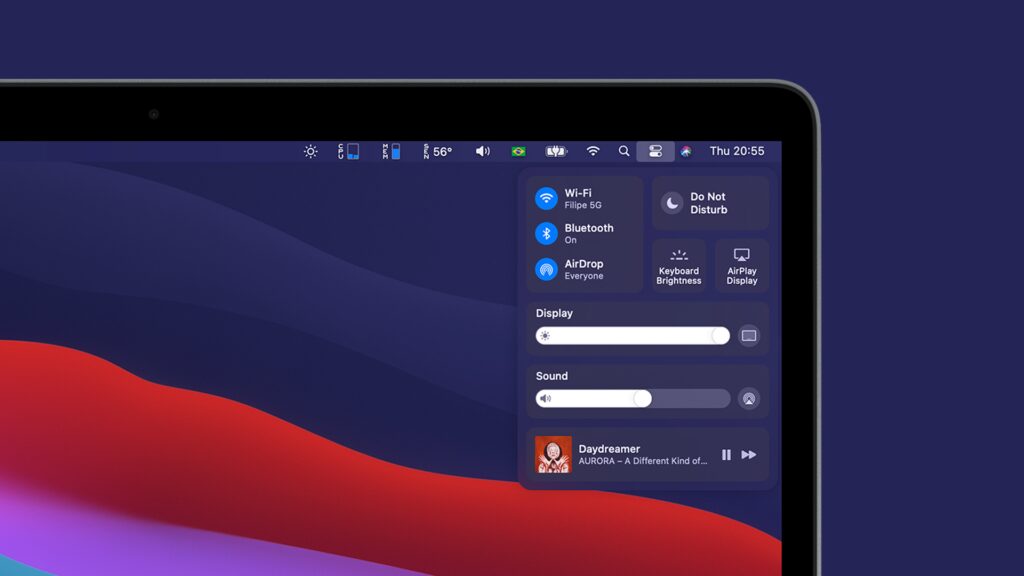
Besides that, Big Sur introduces the Control Center – a new feature that brings all your favorite menu bar items in one place. That way, you get instant access to the controls you love to use the most. You can also pin the menu items you like the most to the top of the menu bar. So you get convenient access to them with just one click!
And here’s another cool thing – Big Sur updates the notifications. From now on, they’ll be grouped in one dedicated column. Also, they’re automatically sorted by date, so that you notice the most recent ones first.
To read more about the new Big Sur features, check out this link.
Are There Any Issues with macOS Big Sur?
Yes, Big Sur actually has a serious security issue – it doesn’t work well with VPNs and firewalls. Basically, the NetworkExtension API received a small tweak which allows Mac apps to bypass VPN tunnels and firewalls.
Yes, that pretty much means you won’t be able to encrypt your data while using FaceTime and Siri. Or prevent hackers from interacting with potential security holes in Apple’s services. Not only that, but you won’t be able to hide your IP from Apple with a VPN anymore!
Did Apple Fix the macOS Big Sur Privacy Threat?

Source: techcrunch.com
Yes, Apple quickly solved that privacy nightmare. Even though many top VPNs still worked well on Big Sur, Apple released Big Sur 11.2 to patch this issue. It deactivates a key (ContentFilterExclusionList) which was responsible for forcing Mac apps to leak data outside VPN tunnels and firewalls.
That Big Sur 11.2 update also solved other issues. It improved Bluetooth reliability and fixed other security issues and annoying bugs.
If you follow the steps we mentioned above, you shouldn’t have to worry about the Big Sur privacy issue. You will normally update to the latest Big Sur version (11.2.1).
How to Get a Good Mac VPN
If you need help finding a reliable and secure Mac VPN, click here. ProPrivacy has a guide that talks about the fastest and most secure VPNs for Macs. Even better, they reached out to most of the providers on that list to confirm that their VPNs work well on Big Sur.
What’s Your Experience with macOS Big Sur?

Source: indianexpress.com
Was the installation process smooth for you? Did you encounter any issues? Were you able to use your VPN and/or firewall efficiently with Big Sur?
Please tell us about your experience in the comments below. Also, if we forgot to mention anything related to Big Sur and VPNs, please let us know.